
Set up .NET Development Environment on Fedora 34
Read this article on Fedora Magazine
Since the release of .NET Core, .NET developers are able to develop applications for and in GNU/Linux using languages like C#. If you are a .NET developer wanting to use Fedora Linux as your main workstation, this article is for you. I’ll demonstrate how to set up a full development environment for .NET on Fedora Linux, including an IDE/Text Editor, Azure Functions and an SSL certificate for a secure https site. There are multiple options for Text Editor and IDE, but here we cover Visual Studio Code and Rider. The last one is not free but it is a great option for those familiar with Visual Studio on Windows.
Install .NET SDK
Until recently the Microsoft repositories were required in the list of sources to be able to install dotnet through dnf. But that is no longer the case. Fedora has added the dotnet packages to their repositories, so installation is quite simple. Use the following two commands to install the latest dotnet (.NET 5 at the moment) and the previous (.NET Core 3.1), if you want it.
sudo dnf install dotnet
sudo dnf install dotnet-sdk-3.1
That's it! Easier than ever!
Install NodeJS
If you want to develop Azure Functions or use Azurite to emulate storage, you will need to have NodeJS installed. The best way to do this is to first install nvm to allow installation of NodeJS in user space. This means you may then install global packages without ever using sudo.
To install nvm, follow these instructions in order to have the latest version. As of today the latest version is 0.38. Check the github site in the instructions for the latest version.
sudo dnf install curl
curl -o- https://raw.githubusercontent.com/nvm-sh/nvm/v0.38.0/install.sh | bash
Once you have nvm installed, just run nvm install lts/* to install the latest LTS version of node or check here for more options.
Install a .NET IDE
Visual Studio Code
Check this guide in case something's changed, but as of today the process to install Visual Studio Code is to import Microsoft key, add the repository, and install the corresponding package.
sudo rpm --import https://packages.microsoft.com/keys/microsoft.asc
sudo sh -c 'echo -e "[code]\nname=Visual Studio Code\nbaseurl=https://packages.microsoft.com/yumrepos/vscode\nenabled=1\ngpgcheck=1\ngpgkey=https://packages.microsoft.com/keys/microsoft.asc" > /etc/yum.repos.d/vscode.repo'
sudo dnf check-update
sudo dnf install code
Now install the C# extension from Microsoft.
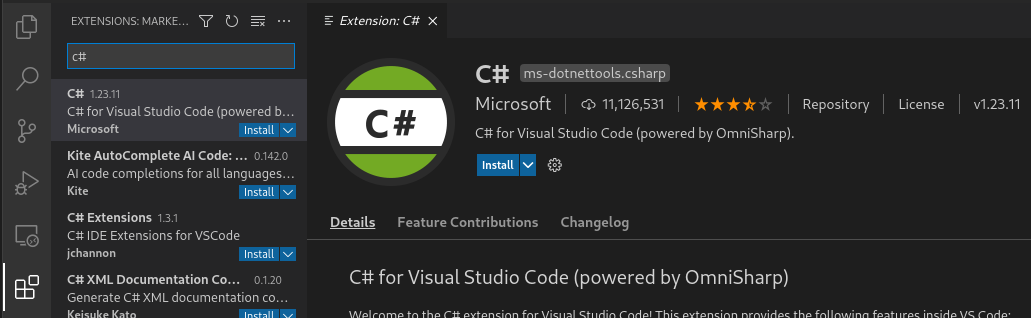
That's pretty much it.
JetBrains Rider
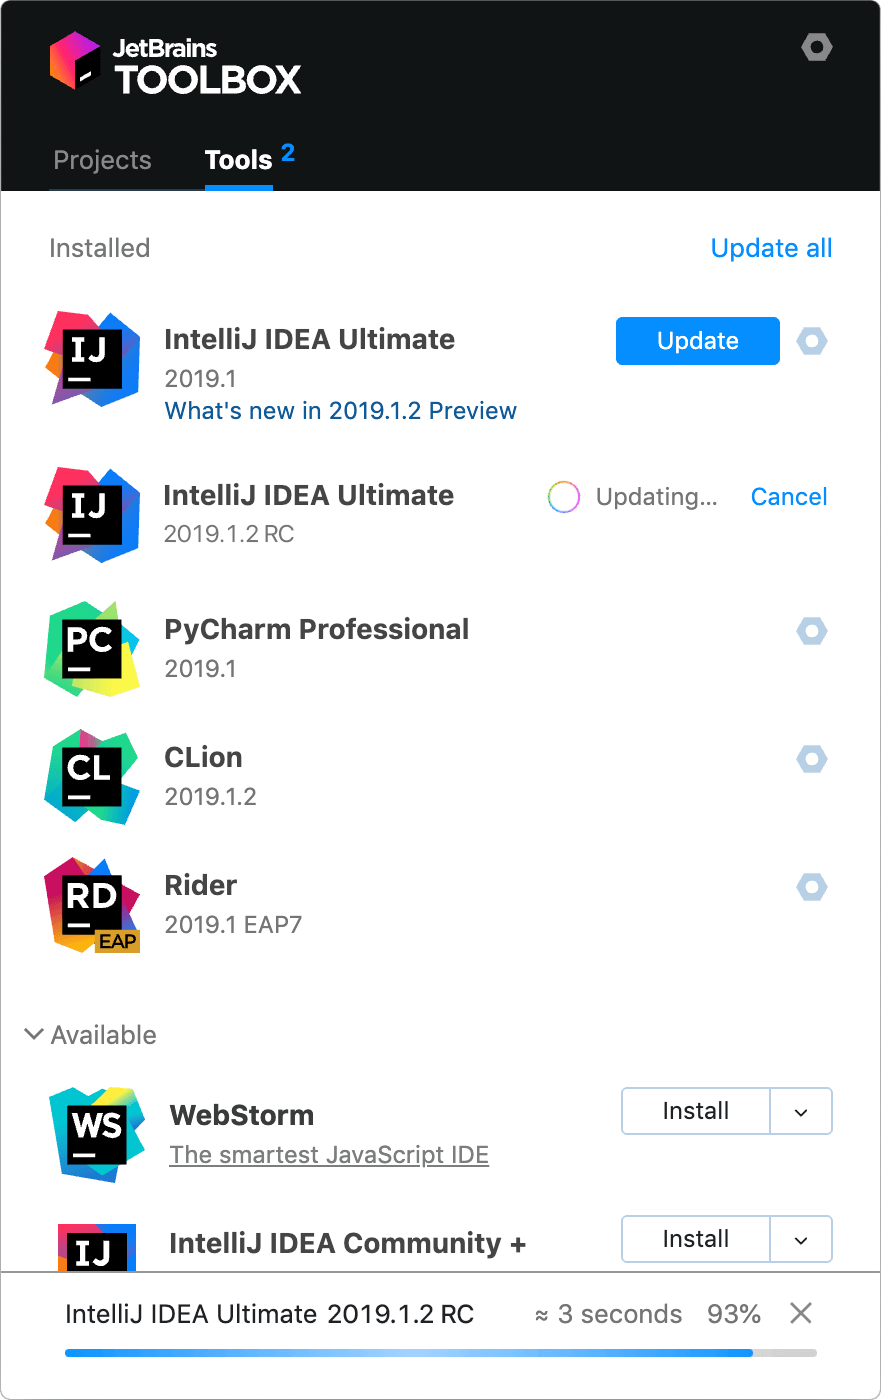
JetBrains Toolbox
If you come from Visual Studio on Windows, this tool will feel more familiar to you. It's not free, but you have 30 days to try it out and see if you like it or not before buying a license. You can check here for more information.
There are several ways to install Rider, but the easiest and cleanest way to do it, it's to install the JetBrains Toolbox and let it manage the installation for you. To install it, navigate to this link and click on the Download button. Make sure that the .tar.gz option is selected.
If you feel more comfortable using the UI, then go to the directory where you downloaded the file using the file explorer of your Desktop Environment (nautilus, dolphin, etc.), right click on it and extract its content. Then go inside the extracted directory, right click on the jetbrains-toolbox file and click on Properties. Make sure that the Allow executing file as program checkbox under the Permissions tab is checked and close the Properties window. Now double click the jetbrains-toolbox file.
If you have troubles following that in your DE or if you prefer using the console, open a terminal and navigate to the directory where you downloaded the file. Then extract the content of the file, navigate into the extracted directory, add execution permissions to the AppImage and execute it. The version numbers that I am using might differ from yours, so autocomplete with the TAB key instead of using copy-and-paste to avoid errors.
tar -xzvf jetbrains-toolbox-1.20.8352.tar.gz
cd jetbrains-toolbox-1.20.8352
chmod +x jetbrains-toolbox
./jetbrains-toolbox
It takes a few seconds or minutes, depending on your system and internet connection, until a small Toolbox window opens. After that you can delete the downloaded files. You will be able to open the JetBrains Toolbox from your app menu, the AppImage installs the application under ~/.local/share/JetBrains.
Rider
In the JetBrains Toolbox, search for the Rider app and click Install. If you want to change where it's going to be installed and other options, check first the settings (top right corner).
When the installation finishes, open Rider. The first screen you'll see is to opt-in in sending anonymous statistics to the JetBrains team. You can choose whatever you prefer there. The second one is to import your settings. If you've never used Rider before, click on Do not import settings and OK. After that, you'll be prompted to choose a theme and keymap. Choose whatever feels more comfortable. Click next on every other screen until you reach the License window. If you have already bought a license, complete your JB Account or corresponding information. If you want to use the trial period, switch to Evaluate for free and click on Evaluate. Do the same for dotCover and dotTrace on the Plugins section on the left panel. Then click Continue.
That's it! We now have Rider installed. You can change the options selected going to Configure -> Settings on the initial screen or File -> Settings on the editor.
Azure Functions and Azurite
To be able to develop Azure Functions we need to install the azurite node package. The azurite package allows you to emulate storage which is needed for some types of Azure Functions.
npm install -g azurite
You can read more about Azurite and how to use it here.
Visual Studio Code
To develop Azure Functions with VSCode, we need to also install the azure-functions-core-tools package. As of today, the latest version is v3. Check here to find the latest version and more information on how to use the tool. Run npm i -g azure-functions-core-tools@3 --unsafe-perm true if you want to install v3 or npm i -g azure-functions-core-tools@2 --unsafe-perm true if you want to install v2.
Then we just need to install the Azure Functions extension from Microsoft. Once the extension is installed, you can go to the Azure icon on the left panel and create a new Azure Function from the templates.
JetBrains Rider
On Rider, we first need to install the Azure Toolkit for Rider plugin. Once the plugin is installed, restart the IDE. Then go to Settings -> Tools -> Azure -> Functions. If you want to manage the azure-functions-core-tools by yourself manually, install the package like described in the Visual Studio Code section and then specify the Azure Functions Core Tools Path by hand. Otherwise, if you want Rider to handle updates and the package automatically, click on Download latest version... and make sure that the option Check updates for Azure Function Core tools on startup is checked.
Then navigate to Tools -> Azure -> Azurite and on the Azurite package path dropdown, select your installation of Azurite. It should look something like ~/.nvm/versions/node/v14.16.1/lib/node_modules/azurite.
Click Save and now you are ready to create Azure Functions. If you click New Solution you should see the Azure Functions templates on the menu.
Create a SSL Certificate for your .NET apps
You won't be able to trust the .NET certificate generated by dotnet dev-certs https --trust. That command has no effect for us on Fedora Linux.
This article doesn't cover the details for easy-rsa or the concepts for the SSL Certificate. If you are interested into learning more about this, please check these sources:
First, install the easy-rsa tool. Then create your own certificate authority (CA), set your system to trust it, sign your certificate and set .NET to use the certificate.
Start with the package install and set up the working directory.
sudo dnf install easy-rsa
cd ~
mkdir .easyrsa
chmod 700 .easyrsa
cd .easyrsa
cp -r /usr/share/easy-rsa/3/* ./
./easyrsa init-pki
Now create a file called vars with the CA details. If you know what you are doing, feel free to change these values.
cat << EOF > vars
set_var EASYRSA_REQ_COUNTRY    "US"
set_var EASYRSA_REQ_PROVINCE   "Texas"
set_var EASYRSA_REQ_CITY       "Houston"
set_var EASYRSA_REQ_ORG        "Development"
set_var EASYRSA_REQ_EMAIL      "local@localhost.localdomain"
set_var EASYRSA_REQ_OU         "LocalDevelopment"
set_var EASYRSA_ALGO           "ec"
set_var EASYRSA_DIGEST         "sha512"
EOF
Now , build the CA and trust it. When you run the first command it will prompt for the CA name, you can just press enter to leave the default value.
./easyrsa build-ca nopass
sudo cp ./pki/ca.crt /etc/pki/ca-trust/source/anchors/easyrsaca.crt
sudo update-ca-trust
Next, create the request for our CA and sign it. After executing the last command, type yes and press enter.
mkdir req
cd req
openssl genrsa -out localhost.key
openssl req -new -key localhost.key -out localhost.req -subj /C=US/ST=Texas/L=Houston/O=Development/OU=LocalDevelopment/CN=localhost
cd ..
./easyrsa import-req ./req/localhost.req localhost
./easyrsa sign-req server localhost
Now, place all the files needed inside a common directory and create the pfx cert. After the final command you will be prompted for a password. Type anything you want. Be sure to remember your password and keep it secret.
cd ~
mkdir .certs
cp .easyrsa/pki/issued/localhost.crt .certs/localhost.crt
cp .easyrsa/req/localhost.key .certs/localhost.key
cd .certs
openssl pkcs12 -export -out localhost.pfx -inkey localhost.key -in localhost.crt
Finally, edit the ~/.bashrc file and add the following environment variables.
cat << EOF >> .bashrc
# .NET
export ASPNETCORE_Kestrel__Certificates__Default__Password="PASSWORD"
export ASPNETCORE_Kestrel__Certificates__Default__Path="/home/YOUR_USERNAME/.certs/localhost.pfx"
EOF
Remember to replace PASSWORD for your actual password and YOUR_USERNAME for your actual username.
Reboot your system (there are other ways to do this, but rebooting is the easiest and fastest one). And that's it! You can now develop using .NET with https on your Fedora Linux system!